


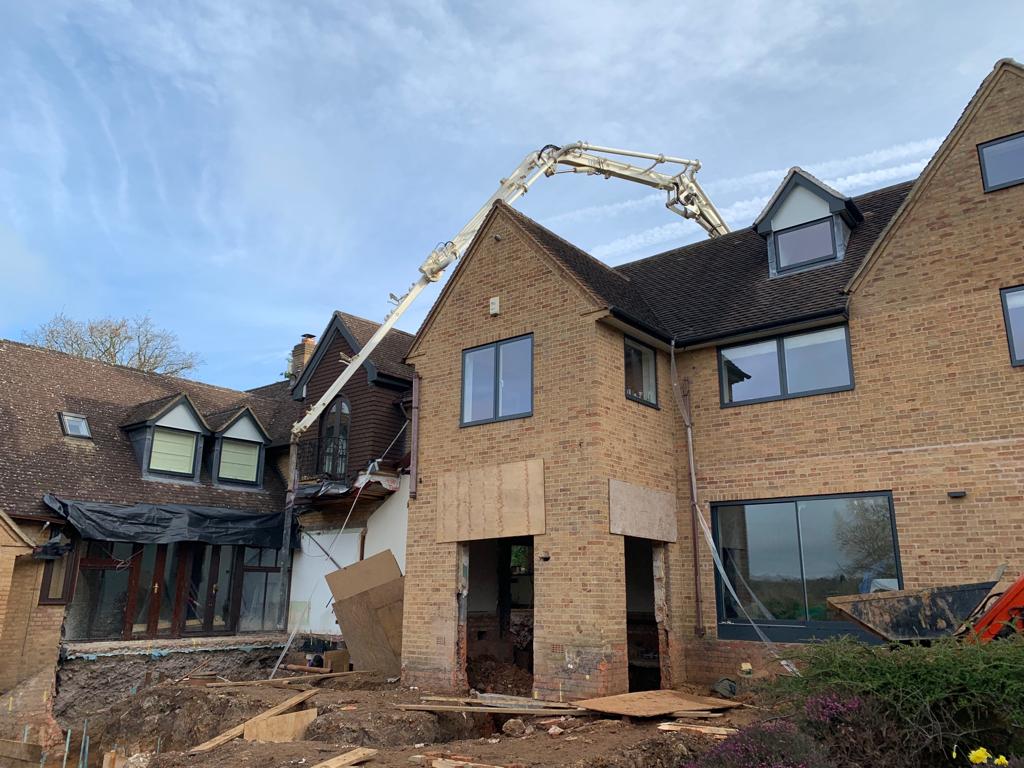
Whether you’re pouring a driveway, laying foundations, or prepping a slab for an agricultural build, concrete site preparation is the make-or-break stage. Miss a step, and you risk cracks, drainage issues, uneven surfaces, or worse, the need to start over.
At Concrete Developments, we supply quality ready-mix concrete throughout Warwickshire, supporting contractors, builders, and DIY enthusiasts with consistent mixes using virgin materials and reliable delivery. But even the best concrete can’t do its job if the site isn’t ready. Here’s how to get it right from the ground up – step by step.
Step 1: Assess the Site
Before any work begins, carry out a full site inspection. Start by checking the slope and drainage – your finished slab must allow water to flow away naturally & not pool. Standing water is one of the most common causes of premature concrete cracking or frost damage.
Next, confirm there’s clear access for concrete mixers, pumps, and tools. A blocked or narrow route can delay the pour and compromise the finish. Remove any vegetation, rubble, or old concrete to create a clean working area.
Finally, assess ground stability. The soil should be firm and compact, as a weak base puts the entire slab at risk. If there are sandy or loose areas, these will need stabilisation before proceeding.
Step 2: Prepare the Ground
Once the site is assessed and cleared, the next step is to prepare the ground to support the slab.
Start with excavation. Dig to the required depth based on your foundation needs and slab type. This often includes space for a compacted sub-base and a damp-proof membrane (or plastic sheeting) beneath the concrete layer. Driveways or commercial foundations may require a deeper dig.
After excavation, ensure proper compaction of the soil using a vibrating plate or roller. Compaction is vital for preventing voids, air pockets and uneven settling. If you’re laying a sub-base, such as crushed stone or MOT Type 1, compact each layer thoroughly before adding the next.
Next, use a laser level or string lines to ensure the surface is completely even. A flat base helps achieve consistent slab thickness and prevents issues during pouring and finishing.
Finally, install a polythene damp proof membrane (DPM), this not only prevents damp rising up through the finished slab but also contains the wet concrete, preventing rapid loss of moisture into the sub-base which could cause shrinkage cracks.
Step 3: Install Formwork and Reinforcement
Formwork holds the wet concrete in place while it’s poured and is curing. Use strong, straight timber or steel forms that are properly braced and level. Peg the forms securely and double-check that corners are square. Any shifting during the pour will affect the finish, which may lead to rework. These can be used as a guide for a tamping rail.
For most structural slabs, reinforcement is essential. Steel mesh or rebar should be placed according to your design spec, lifted slightly off the ground to sit within the concrete layer. Reinforcement strengthens the slab and helps prevent cracks, particularly in driveways, footings, and commercial floors. Alternatively fibre reinforcement can be added to mix which replaces the steel mesh, saving time & effort in preparation.
Even smaller slabs can benefit from reinforcement to reduce surface cracks caused by shrinkage during curing.
Step 4: Plan for Drainage
No matter how strong the concrete you’re working with, poor drainage will eventually cause damage. To protect your concrete slab, plan for water movement below and around it.
Start with a drainage layer, typically 100-150mm of compacted gravel or crushed stone, beneath the slab. This helps water escape, reduces the risk of frost, and improves long-term durability.
For external pours like driveways or yards, we recommend that you introduce a gentle slope or install drainage channels to direct water away from buildings.
Always keep in mind – planning drainage before pouring avoids expensive fixes later.
Step 5: Get Ready to Pour
With the site prepared, it’s time to organise the pour itself. Timing, mix choice, and manpower are all critical.
First things first, make sure you have enough people on-site to handle the pour efficiently. Concrete begins to set quickly, especially in warm or windy conditions, so coordination is key. Assign roles in advance – someone to place, someone to screed, and someone to finish.
Work with your supplier to order the right concrete mixture (and the right amount) for your project. At Concrete Developments, we offer a range of ready-mix options for foundations, driveways, slabs, and agricultural builds.
Prepare all tools and equipment in advance. You’ll need trowels, concrete rakes, screeds, vibrating poker and finishing tools ready and waiting before the truck arrives.
Common Mistakes to Avoid
Even experienced teams sometimes miss key steps. Even well-organised jobs can go sideways if a few key issues are overlooked. These are the most common mistakes we see on-site before a concrete pour:
- Inadequate site preparation
Rushing site prep or skipping essential steps, like proper compaction or clearing vegetation and debris, can compromise the slab’s strength. Weak spots, cracking, or sinking often stem from a poor foundation.
- Misaligned or unstable formwork
If your forms aren’t level, braced, or square, expect trouble. Leaks, warped edges, and uneven finishes are all avoidable—but expensive—mistakes once the pour starts.
- Forgetting to check formwork before the pour
Once the pour starts, it’s too late to find out a corner isn’t square or a board isn’t secure. Walk the formwork before your concrete arrives. A few minutes of checking can prevent hours of rework.
- Miscalculating concrete volumes
Guesswork leads to problems. Underordering can halt the pour halfway through, while overordering wastes material and money. Use a concrete calculator to get your quantities right, or ask us – we’re happy to help.
- Last-minute prep
Leaving site preparation to the day of the pour is a recipe for disaster. Scrambling to clear debris or adjust levels while the truck is en route puts the whole pour at risk. Always do proper site preparation at least a day in advance.
- Assuming the ground is “good enough”
Just because the surface looks firm doesn’t mean it’s stable. We’ve seen slabs crack because the soil wasn’t compacted properly – or at all. Test it, compact it, and don’t cut corners.
- Underestimating site access needs
Inadequate access for mixer trucks or pump equipment can delay delivery or force costly changes. Think ahead: are the gates wide enough? Is the ground firm enough to support the vehicle? Can the truck reverse safely to where you’re laying concrete?
- Ignoring local weather conditions
High temperatures, heavy rain, or overnight frost can all affect the curing and finish quality of your concrete mix. Failing to check the forecast or prepare for contingencies can undermine an otherwise perfect pour.
- No backup plan if the pour runs over
If you don’t finish the pour on time due to traffic, team delays, or an underestimated volume, you risk cold joints or uneven setting. Always have a buffer in your schedule.
Preparation Pays Off
Great concrete pours start with great preparation. Every successfully finished slab relies on solid ground, reliable formwork, accurate drainage, and well-planned timing. By following these steps, you’ll lay a concrete surface that performs for years to come.
At Concrete Developments, we do more than just deliver ready-mix concrete – we support your entire project. From initial advice to final pour, we’re your partner on the ground.
Ready to Pour?
Don’t leave it to guesswork. If you’re unsure how much concrete to order, what mix you need, or whether your site is ready, give our team at Concrete Developments a call. We supply high-quality readymix concrete across Warwickshire – from Rugby to Leamington Spa, Nuneaton to Stratford-upon-Avon.
We’ll help you get everything right before the pour starts, so you only have to do it once.